
ESTHER Registration Course Request Process: Step-by-Step Instructions (Undergraduates Only)
The Office of Academic Advising Registration page has additional information, including a helpful Registration System Tutorial Video.
Log On
- Log on to course registration via ESTHER, using your Rice NetID and password using Duo two-factor authentication.
- From the Students tab, click Students – Registration, then select Register, Add, or Drop Classes.
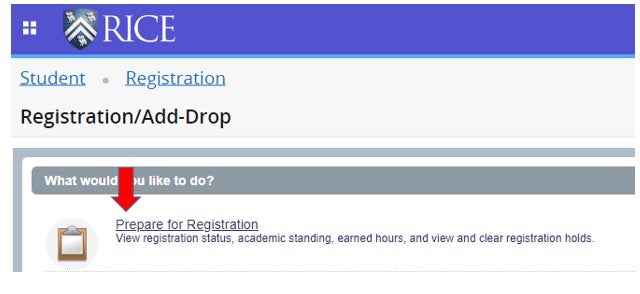
- On the Registration/Add-Drop page, select Prepare for Registration.
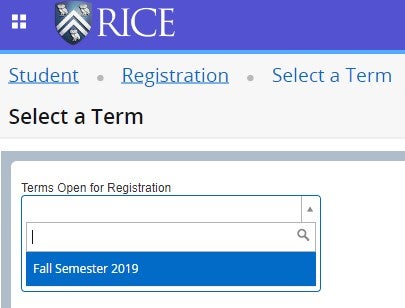
- Before proceeding, select the Term for which you are registering by clicking the drop-down menu under Terms Open for Registration, then click Continue.
Prepare for Registration
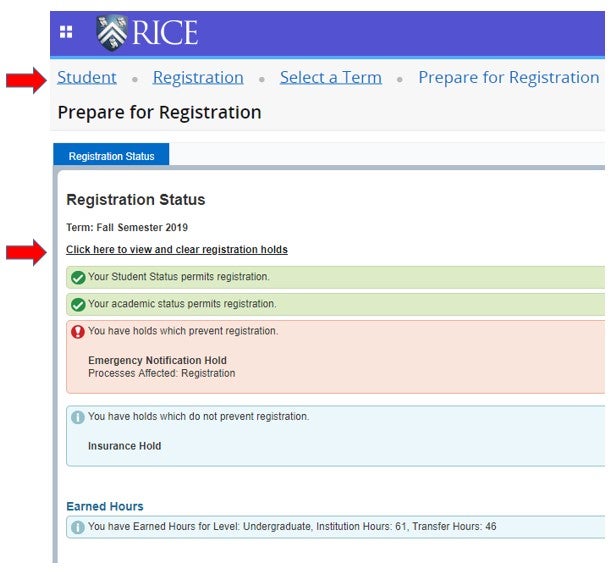
- Before selecting course, the system will display your Registration Status on this page, including your selected curriculum, earned credit hours, and any holds on your student account. IMPORTANT NOTE: Some holds prevent registration. You will be given the opportunity to clear any holds that prevent registration before proceeding to course selection. Follow instructions on this page to clear any holds preventing registration by following the Click here to view and clear registration holds hyperlink.
Once all holds preventing registration have been cleared (or if you have no holds preventing registration), you are prepared for registration. Click the Student tab at the top to return to the main menu.
Select Requested Courses for Registration
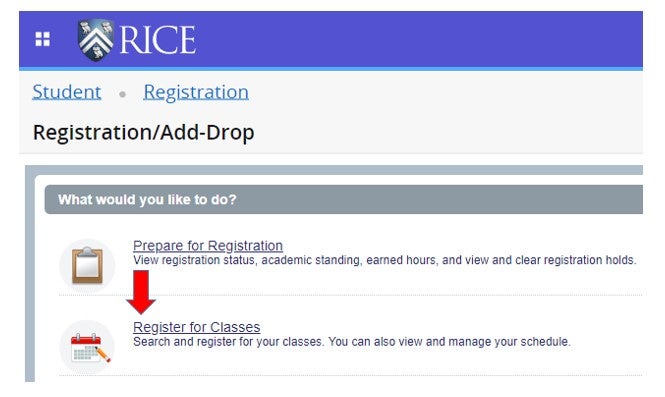
- From the Registration/Add-Drop page, select Register for Classes to search for the classes you’d like to take and build a proposed schedule.
- Select the Term for which you are registering by clicking the drop-down menu under Terms Open for Registration. Click Continue.

-
In the Find Classes window, the default view is a simple search for classes by using a variety of criteria, such as subject code, course number, keyword, or by Distribution group. Enter the desired criteria, then click Search.
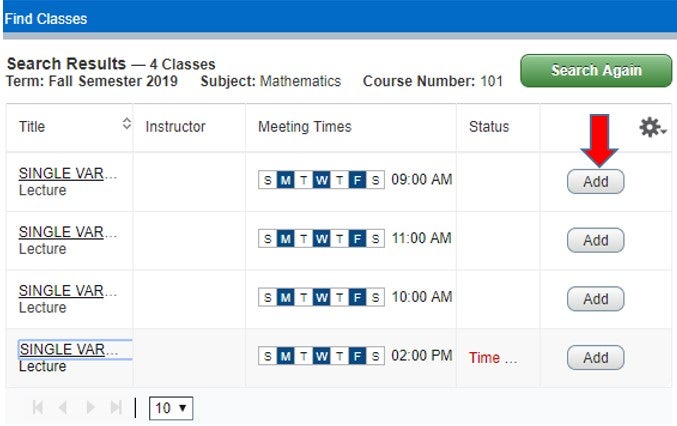
To perform a more detailed search, click Advanced Search within the Find Classes window. Specific criteria is available in an advanced search, such as instructor name, instructor evaluations, CRN, level (undergraduate or graduate), meeting days, meeting times, open sections, course range (lower-level or upper-level), and more. Enter the desired criteria, then click Search. To add a course to your proposed schedule from the search results, click Add on the right column in the Find Classes window.

- To add a course to your proposed schedule from the search results, click Add on the right column in the Find Classes window.
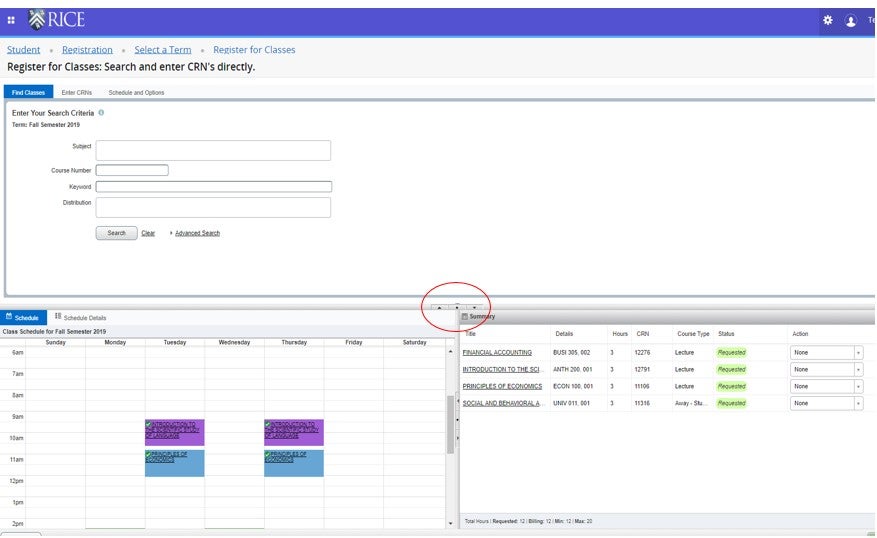
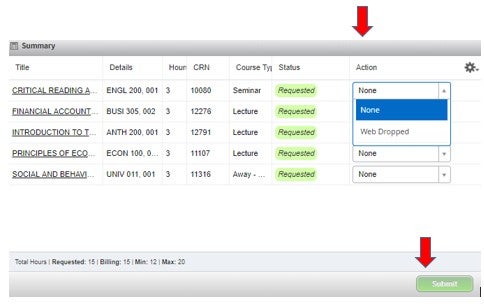
- You will then see the requested course(s) in gray within the Schedule window (bottom left of the screen) and the Summary window (bottom right of the screen).
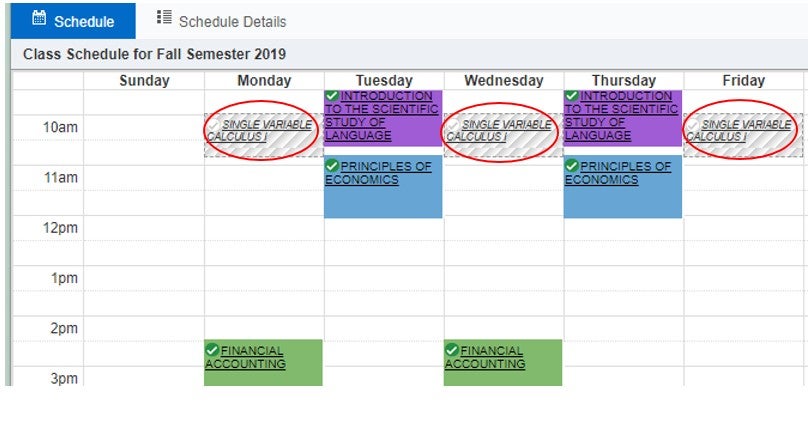
- IMPORTANT NOTE: To finalize the course request, click Submit in the Summary window. The status of the course will then turn green, and the course will be assigned a color within the Schedule window.
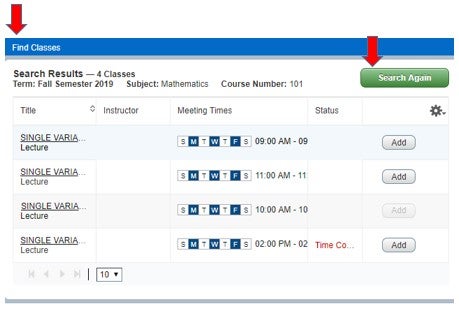
- Search for more classes by selecting the Find Classes tab and clicking Search Again. Clear previous search parameters by clicking Clear within the Find Classes window. Repeat steps 4-6 above to add more courses to your Course Request list.
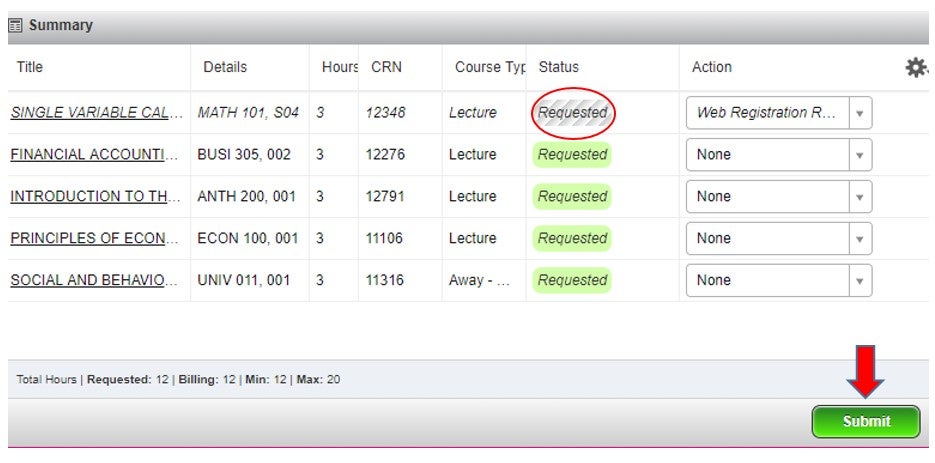
- The courses listed in the Summary window with the status of Requested (in green) will comprise your desired schedule when the Course Request Period closes, at which time the Summary list will be locked from further changes, then submitted for the randomized ESTHER registration process. If you are satisfied with your proposed schedule (courses with the status of Requested (in green) in the Summary window) simply click the profile in the upper-right corner and sign out of your account. Until the end of the Course Request Period, you can return and add or remove courses to your proposed schedule at any time by following the steps listed above.
PLEASE NOTE: Adding courses to your proposed schedule does not officially enroll you in the class. You may continue to search for courses, add them to your proposed schedule, and submit them as your requested schedule until the end of the Course Request Period, at which time, course requests will be locked. ESTHER will systematically make course selections and populate your schedule via an automated and randomized process, based on the Course Request list you build.
Other Features
Interactive Window Display
The system will display three windows on the Register for Classes tab, the Find Classes window at the top of the screen, the Schedule window (bottom left of the screen), and the Summary window (bottom right of the screen). These three windows are interactive, and can be expanded or collapsed. Toggle the view by clicking on the arrows in the bars in between the boxes; click the small circle in the middle to return to the main screen.
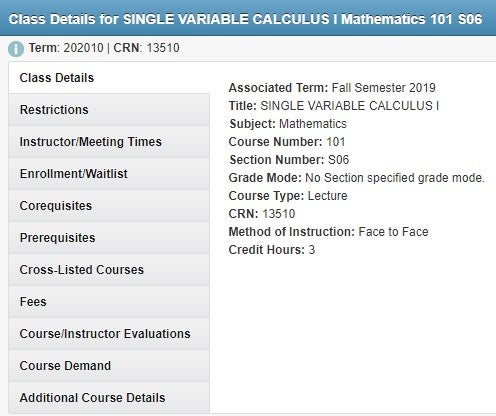
Pop-Up Course Details
After the search results display from a simple or advanced Find Classes search, you can click the title of a course for more detailed information. A new window will pop-up, including instructor, meeting times, enrollment maximum, waitlist information, corequisites, prerequisites, course evaluations, and more.
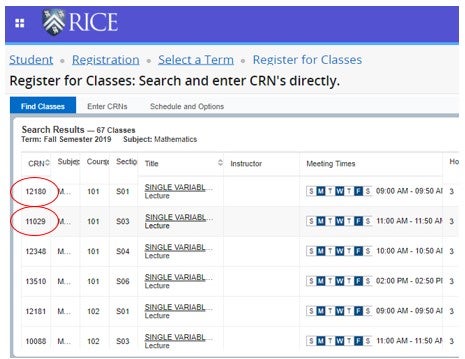
Search Results
You may adjust the search results displayed per page at the bottom of the Find Classes window.

Adding Courses by CRN / Adding Multiple Courses at Once
In addition to the simple search or the advanced search in the Find Classes tab, you may add courses to your schedule by entering the CRN (Course Reference Number) in the Enter CRNs tab.This also allows multiple courses to be added at once. After performing a simple search or an advanced search from the Find Classes tab, copy and paste the CRN from the search results, (or copy and paste the CRN from courses.rice.edu.)
- Click the Enter CRNs tab and paste the CRNs for desired coursework in the CRN field(s).
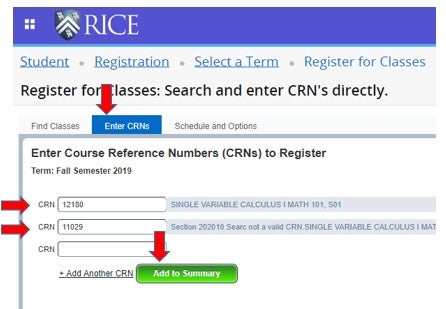
- To add coursework to your proposed schedule, click Add to Summary.
- You will then see the requested course(s) in gray within the Schedule window (bottom left of the screen), and the Summary window (bottom right of the screen).
IMPORTANT NOTE: To finalize the course request, click Submit in the Summary window. The status of the course will then turn green, and the course will be assigned a color within the Schedule window.
Search for more classes by selecting the Find Classes tab and clicking Search Again. Clear previous search parameters by clicking Clear within the Find Classes window. Repeat steps 4-6 above to add more courses to your Course Request list.
Removing a Course from the Proposed Schedule
If you would like to remove a course from your proposed schedule, select Web Dropped from the Action drop-down menu within the Summary window (bottom right of the screen), then click Submit.
Common Errors
The system will automatically detect a variety of typical registration errors, such as a time conflict, corequisite, and prerequisite errors.
- TIME CONFLICT – if you add proposed courses to your schedule that have overlapping meeting times, the system will select only one of the courses to be added to your schedule. If a course found in search results conflicts with courses already existing on the proposed schedule, the status will indicate Time Conflict!, and the system will not allow the course to be added to your schedule. You may select Remove from the Action drop-down menu within the Summary window (bottom right of the screen), then click Submit to remove the time conflict from your summary.
- COREQUISITE – if you register for a course without also registering for the required corequisite, an error message will appear in the upper right corner that indicates which additional corequisite course is required. Select Web Registration Request from the Action drop-down menu within the Summary window (bottom right of the screen) for the first course. Then find the corequisite course in the Find Classes window, and click Add. When both courses are in the Schedule and Summary windows, click Submit in the Summary window to add them to your proposed schedule.
- PREREQUISITE – if you attempt to add coursework for which you do not have the prerequisite, an error message will appear in the upper right corner that indicates a Prerequisite and Test Score error. After adding a course to your proposed Schedule and clicking Submit in the Summary window, you will see the error message in the upper right corner. You may select Remove from the Action drop-down menu within the Summary window, then click Submit to remove the course, or you may simply click Submit a second time, and the system will drop the course from the Schedule and Summary. If you receive a Prerequisite and Test Score error, the course will not be added to your schedule.
Schedule View
To view your current schedule in a summary format or to view your schedules from previous semesters, log into ESTHER and in the registration area click on the Register, Add, or Drop Classes tile and then select View Student Schedules.
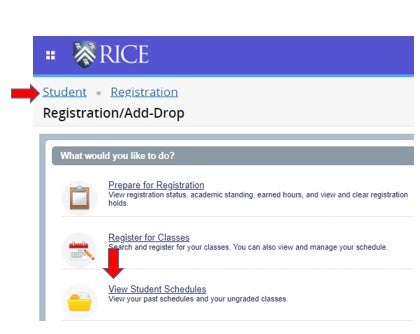
- Here you can view past semesters and current semester schedules and summaries by selecting the preferred term under Look up a Schedule.
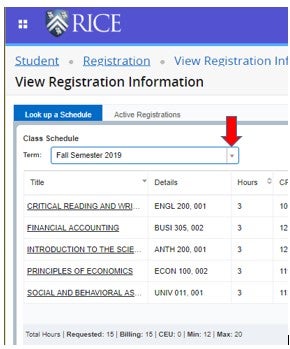
- You may also view your current registration by selecting Active Registrations.

PLEASE NOTE: Current semesters will only appear in the View Student Schedules tab (Look up a Schedule or Active Registrations) when registration has been completed for a given semester and you are officially enrolled in courses. When courses are being added as proposed schedules during the Course Request Period, no desired course(s) will appear for that term under Look up a Schedule or Active Registration, as official registration is not yet complete.